
There’s something truly special about receiving a family heirloom — the stories, the history, and the love that it carries through generations. When my grandmother passed down her collection of silver cutlery and jewelry to me, I was thrilled, until I noticed the tarnish that dulled their shine. Fortunately, Grandma had also taught me a remarkable trick to restore their beauty effortlessly. This simple method takes just 10 minutes, and the results are stunning. Let me share her secret with you.
Understanding Tarnished Silver
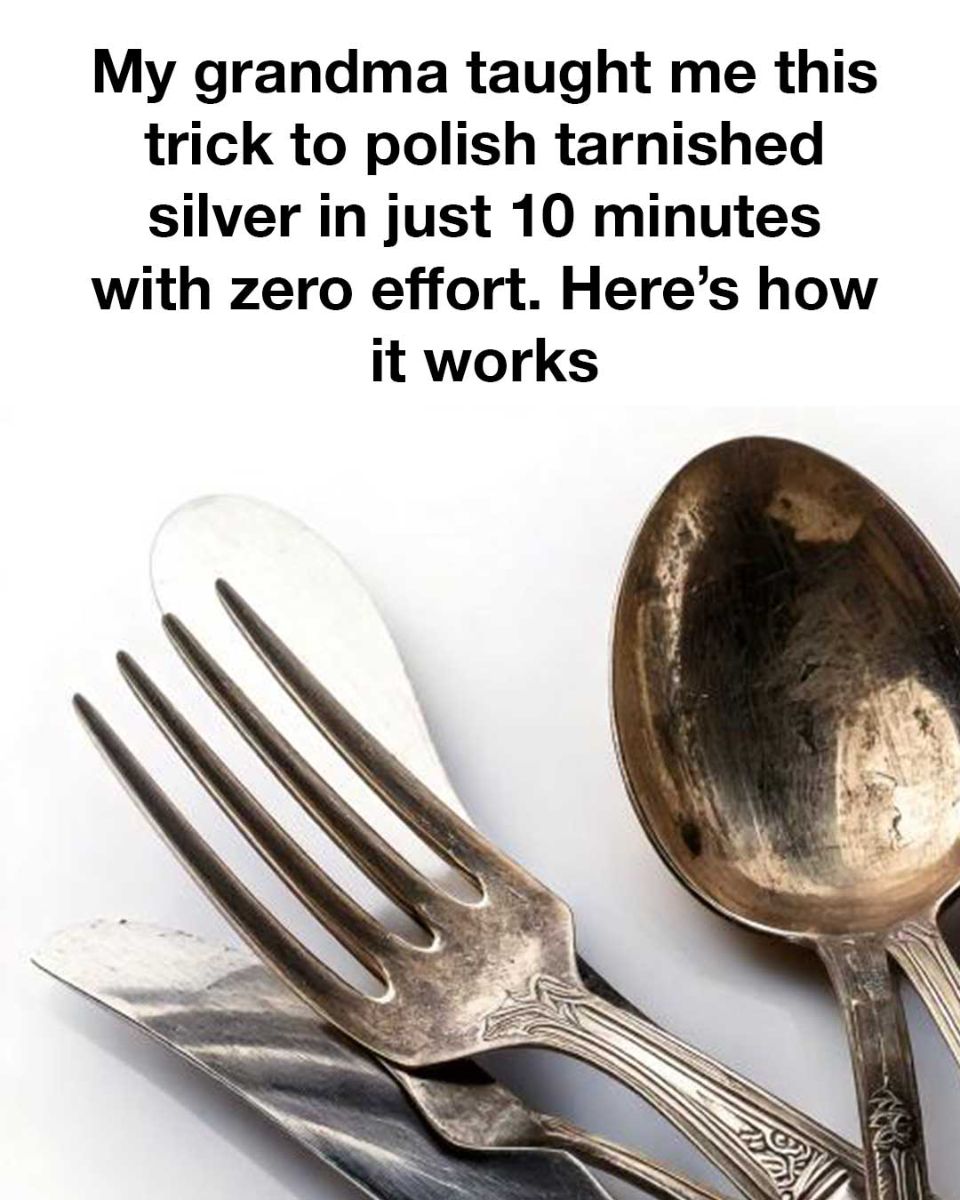
Tarnish is a natural process that occurs when silver reacts with sulfur-containing substances in the air, leading to a blackened or dulled appearance. This chemical reaction forms a layer of silver sulfide on the surface of your precious items. While tarnish is often seen as a nuisance, it’s a normal and expected part of silver aging and doesn’t damage the metal, though it can detract from its visual appeal.
Materials You Will Need
Before you begin, gather the following materials: a large bowl or container, aluminum foil, baking soda, boiling water, and a pair of tongs. These common household items work together to lift the tarnish away, revealing the shiny silver beneath.
Step-by-Step Guide to Polishing Silver
1. Line the bottom of your bowl or container with aluminum foil, shiny side up.
2. Place the tarnished silver items on the foil, ensuring they touch the foil directly.
3. Sprinkle a generous amount of baking soda over the items, about 1/4 cup per item.
4. Carefully pour boiling water into the container, enough to submerge the silver completely.
5. Wait for about 5-10 minutes as the magic happens — you’ll notice the tarnish transferring to the foil.
6. Using tongs, remove the silver pieces, rinse them under cool water, and gently dry with a soft cloth.
The Science Behind the Trick
This method is based on a chemical reaction between baking soda, aluminum foil, and tarnish (silver sulfide). When combined in the presence of hot water, these elements create an electrochemical reaction known as ion exchange. The aluminum acts as a sacrificial anode, and the baking soda solution as an electrolytic solution. The silver sulfide converts back to silver while the sulfur attaches to the aluminum, effectively removing the tarnish.
Safety Precautions and Tips
Always handle boiling water with care to avoid burns. Ensure proper ventilation while performing this task, as the reaction might release a mild sulfur smell. Avoid using this method on silver items with porous gemstones or other sensitive materials that may react negatively to the solution.
Alternative Methods for Polishing Silver
If you’re looking for other options, consider using commercial silver polish, which can be effective though slightly more labor-intensive. For those who prefer natural solutions, toothpaste or a mixture of vinegar and baking soda can also be used to polish smaller silver items. However, these methods may require more manual effort and may not be suitable for intricate designs.
Caring for Your Silver After Polishing
To maintain your silver’s shine, store it in a dry place, ideally in anti-tarnish bags or cloths. Regularly dust and clean your silver with a soft, dry cloth, and avoid exposure to air for long periods. Consider using silica gel packets in your storage areas to minimize moisture which can accelerate tarnishing.
Conclusion and Final Thoughts
Thanks to my grandmother’s enduring wisdom, polishing silver has become a quick and enjoyable task rather than a chore. This simple trick not only restores the beauty of silver treasures but also helps keep family traditions alive as they’re passed down through generations. By understanding the process and taking care of your silver, you can ensure these precious items continue to shine bright for years to come.